Nighthawk Wallet: a How To
by: Yoditar
Zcash (ZEC) is a financial privacy- oriented cryptocurrency that allows members of its community to access a digital, decentralized and global economy.
As part of the need to empower members of the Zcash community and eliminate the need for intermediaries to enable peer-to-peer (p2p) transactions, the need arises for applications for both smart mobile phones and desktop computers ( PC and laptop) called wallets.
A wallet (purse, wallet or portfolio) is a program that stores the private keys that allow access to the cryptocurrencies registered in an address or public key to spend them. That is why it is so important to take care of the private keys, since if the wallet user loses them, they will not be able to access their funds.
Among these Zcash wallets for Android operating system is Nighthawk Wallet (link), a Zcash thin client with all the necessary functions to exclusively manage shielded addresses (z), which allows fully shielded transactions ( z2z ). A version for iOS is currently being worked on.
You may also be interested : What is Zcash?
Its main features include the following:
Full support of shielded addresses.
Send and receive notes (Memos).
Send and receive ZEC using shielded addresses.
Synchronize with the blockchain in minutes.
In order to know how this wallet works, we will explain the following:
Installation and first functions.
Send ZEC.
Receive ZEC.
The images and explanations will be made taking into account users who want to create a new wallet.
Installation and first functions
The first thing you should do is go to the Google Play Store or to the iOS App Store & search for the official application by placing the name “Nighthawk Wallet”. Once located, press the Install option . You can also go to the official website Zcash Section wallets.
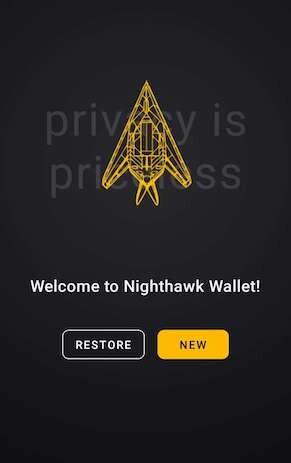
Once the application is installed, you can proceed to open it from your device and you will see the following window:
If you are going to create a new wallet press the New button . If you want to restore a Zcash wallet, press the Restore button . Remember that in this last option you must have the seed or twenty-four keywords to complete the process following the instructions on the wallet. If you are going to create a new wallet select the first option: New.
Next you will be shown a window with the seed or twenty-four keywords , which you must store in several safe places, both physical and digital, and that is not available to third parties. Whoever accesses the seed will have full access to your funds, since they will be the owner of the private keys to spend your money. TAKE CARE OF YOUR SEED!
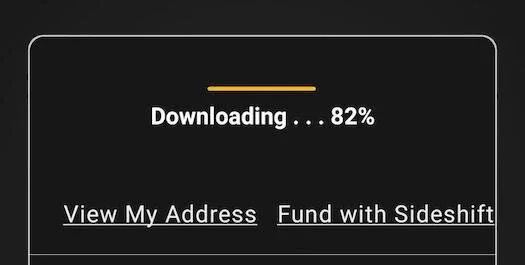
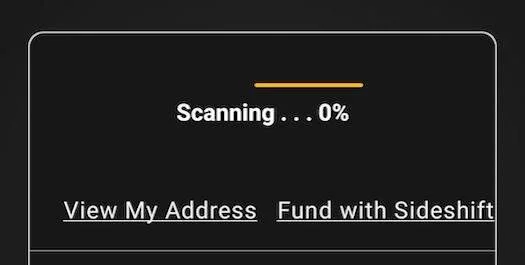
Once the seed has been saved in several safe places, you must wait for the wallet to synchronize with the blockchain. There are two stages: Downloading (syncing with the blokchain) and Scanning (updating the wallet).
When this process is completed, a first window will appear, which we can call Wallet, in which you will be able to see a header where the amount indicated in ZEC appears.
At the left end of the amount in ZEC you will see an information i, which when clicked will allow you to see a new window that tells you that Zcash is a private digital currency and an invitation to visit the website of this cryptocurrency. The latter can be done by pressing Open Browser.
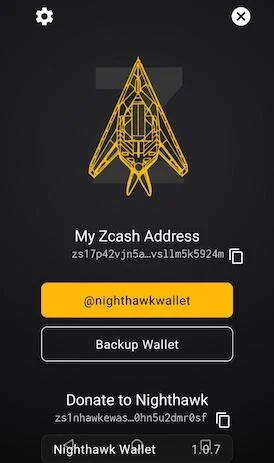
At the right end of the amount in ZEC you will see an icon of a figure , which when clicked will allow you to see a new window. In it you will be able to appreciate the following data:
Your Zcash address .
The @nighthawkwallet button to go to the wallet's Twitter account.
The Backup Wallet button to see your seed. You will previously see a warning message that will inform you that you must be the only person seeing your phone, since your seed will be shown on the next screen. If you are sure to do this, press View Seed . Otherwise, press Cancel .
The Nighthawk Wallet address , which you can copy in case you decide to donate to the creator of the wallet.
Gear (top left): information on the server.
X (upper right): exit this window to return to the main one.
Warning: if you click on the gear wheel in the upper left, you will enter a new window with sensitive information. If you decide to press any of the options ( Update or Reset To Default Host ), we suggest doing it only if you know what you are doing. Please follow the directions in the warning window.
Once back to the main sale, you will see the button to send Zcash ( Send Zcash ). Later we will explain how to send ZEC.
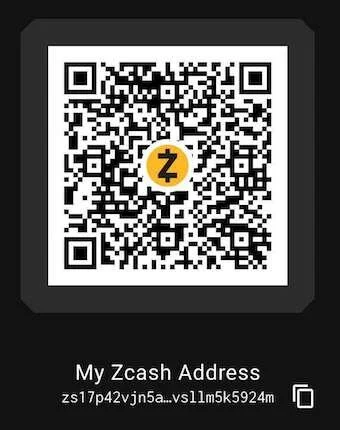
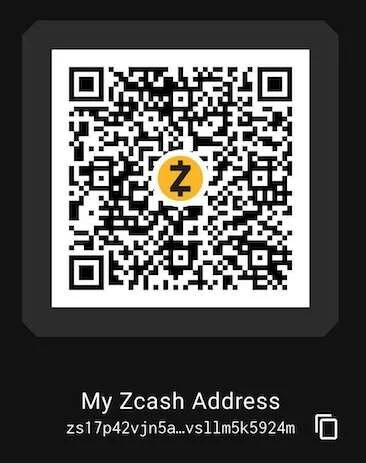
Below this option you can see the following: View My Adrress . If you press on it, you can view your address in a QR code to be digitized by others to send you ZEC or the option to copy it to share it.
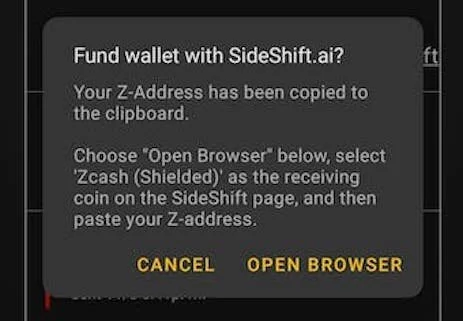
Next to View My Address is Fund with Sideshift. This option will allow you to go to an exchange external to the application, which will give you the possibility of recharging your wallet with funds using cryptocurrencies that you have stored in other wallets. If you decide to use this alternative, click on Fund with Sideshift, then a new window will appear indicating that your address has been copied and that you click Open Browser to go to the exchange from a browser. Once there, follow the exchange's instructions to receive Zcash at Nighthawk Wallet. Remember that the only address you can use in this wallet is a shielded address (z) to receive funds, so you must select this option in Sideshift.
Once you start making transactions you will be able to see both the amount you receive ( Received, date, time and amount ), and the amount you send ( Sent to, address, date, time and amount ). The amount you receive is highlighted in green and a strip of the same color on the left margin of the transaction. While the amount you send appears in red and a red stripe on the left margin.
Send ZEC
To send ZEC you just have to go to the top of the main window and press Send Zcash . Once the new window is displayed, you will have the following alternatives:
Address on clipboard (Paste): Once the address is copied, you can paste it into To with this function.
To: is the space to put the address where the funds will be sent. You can use the QR code reader on the right side of To. You just have to press the square in the form of a QR code and you will be able to access the reader, previously granting the respective permissions to the app to carry out this action.
Amount: put the amount you want to send in ZEC. Under Amount, you will see the amount of Zcash that you have available in your wallet.
Next: press this button to continue with the operation.
The next window will allow you to place the memo. This means that you can write a note with any information of your choice, which will be encrypted as well as the sender, recipient and transaction amount data thanks to the use of a shielded address (z). The memo is optional, but very useful for sending encrypted messages or sharing relevant information about the transaction to the counterparty. If you want to know more about the usefulness and importance of the memo function in Zcash, you can read the article “ The encrypted memo field ”.
In this memo section you can also put your Zcash address by checking the Include your sending address in memo option . Since all information is encrypted, this will let the sender know to whom to refund or send a message. The latter can be carried out because the commission for making a transaction or sending memos (notes) from Zcash wallets has a cost of 0.0001 ZEC (approximately $ 0.001). In turn, members of the Zcash community use the memo function a lot to send anonymous messages to the wall of websites such as ZECpages .
At the end of this window you have two options: Add Memo (add memo or note) and Skip Memo (skip memo or note).
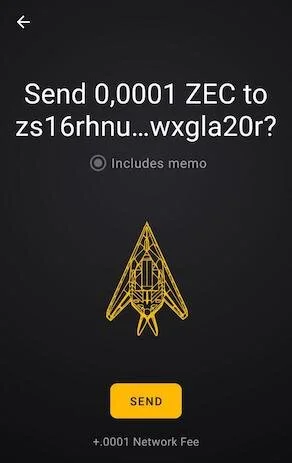
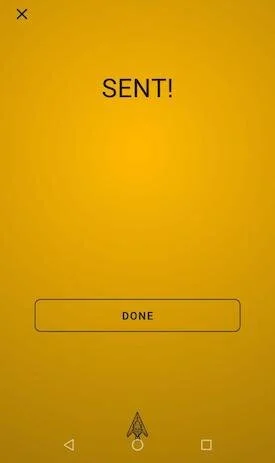
Once you have selected one of the two options mentioned above, a final window will appear for you to confirm the shipment of the ZEC. In it you can see the amount to send, the address, as well as the commission. If you agree, press the Send button to finish the process.
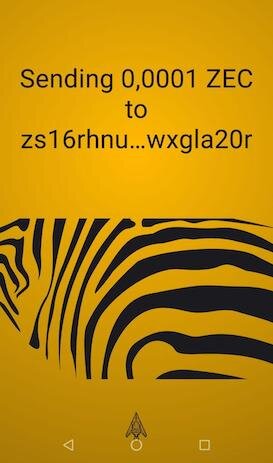
Once the ZECs have been sent, you can go to the main window of the app. While the transaction is confirmed, you will see the following image, where the amount appears in gray:
To know the details of the transaction, you just have to click on it and a window like this will appear:
Receive ZEC
The procedure to receive ZEC is very easy. You just have to go to View My Adrress in the main window.
There are two ways to share your Zcash address with third parties:
Show or share your QR code.
Copy and share your address (z) by clicking on the corresponding option next to the address. This last action will automatically copy the address for you to share.
If you want to understand the reason why at Zcash we care so much about financial privacy, we suggest you read the article “ A shielded ecosystem ”.
As you can see, Nighthawk Wallet is an easy-to-use wallet that will allow you to enter the world of financial privacy hand in hand with Zcash.
Did you know that Zcash has a Hispanic community on Discord and Telegram?
If you want to learn more about privacy in the decentralized digital economy, you can join:
Discord : https://discord.com/invite/PhJY6Pm
Telegram : https://t.me/zcashesp
